Getting started and help
Step by step, from your first touch of the HUD. For quick answers, see the FAQ. Still stuck? Ask for help.
Getting started
Unlock GridLife with your HUD
One touch of your GridLife HUD unlocks GridLife in your web browser. There's no account, password or email.
- Wear your GridLife HUD in Second Life (or rez the GridLife tablet; it works the same way).
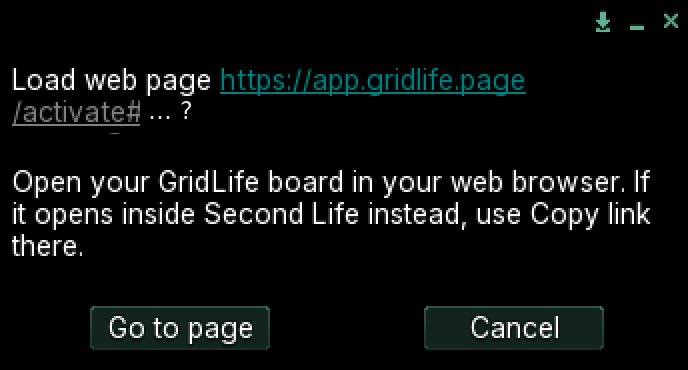
- Touch it. Your viewer asks “Go to page?”. Click Go to page.
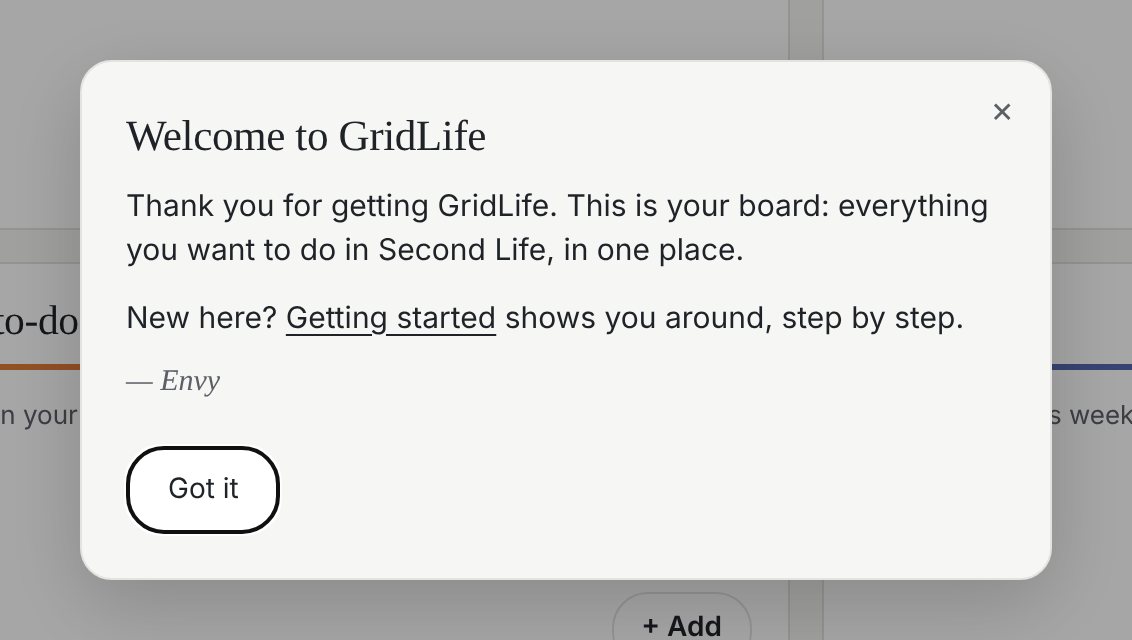
- GridLife opens in your web browser, unlocked. The first time, a welcome says hello; click Got it.
- After your first unlock, the HUD shrinks to a small icon you can move anywhere on your screen. Touch it any time for a fresh link.
Good to know:
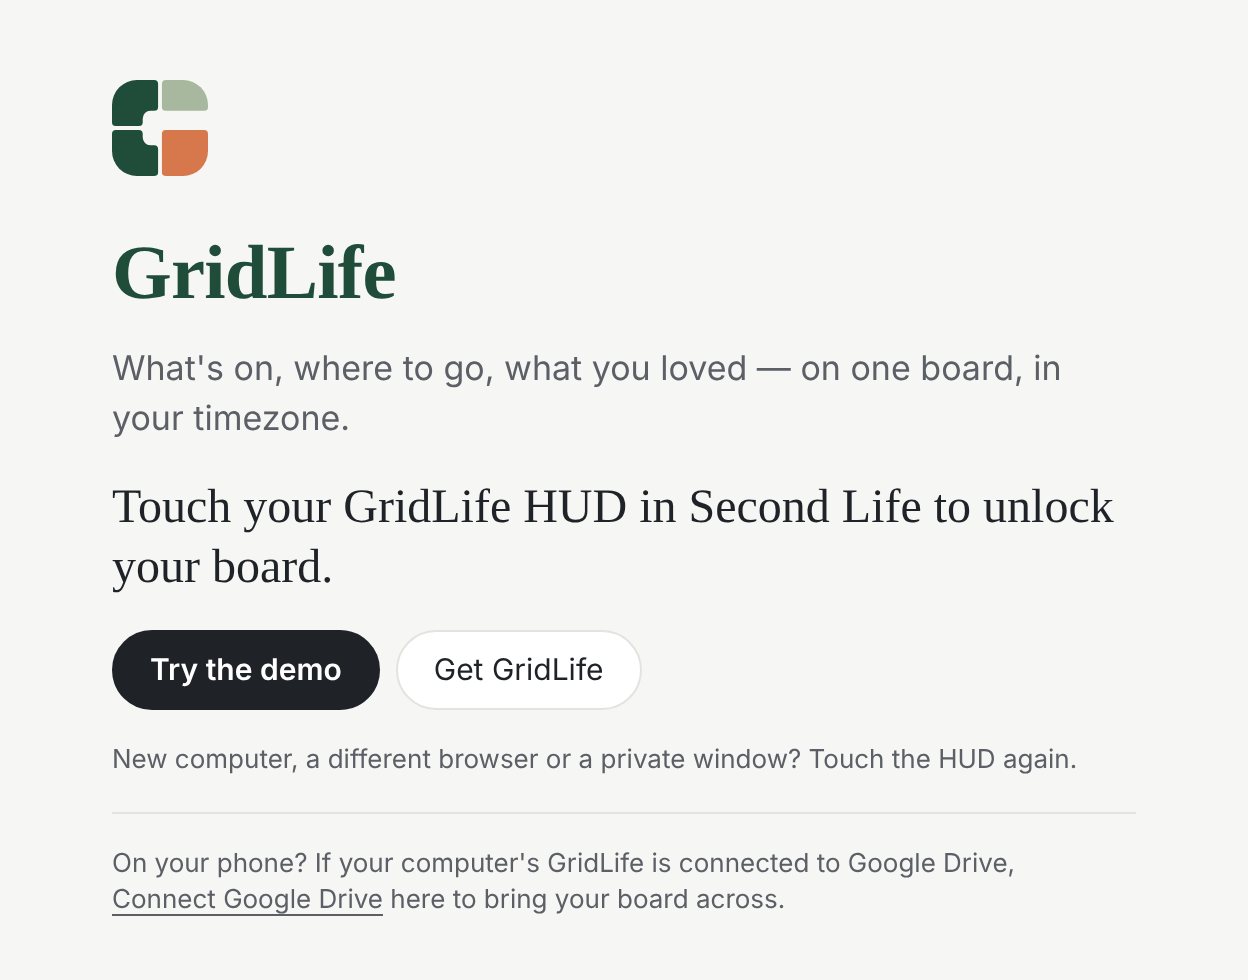
- Unlocking is once per browser, not once for life. A new computer, a different browser or a private window each need one more touch. That's normal, not the HUD breaking.
- Each link works for 10 minutes. Missed it? Touch the HUD again; every touch makes a fresh link.
- On a phone's Home Screen app, the HUD can't reach it. See Use GridLife on your phone.
- Help, at the very bottom of the app, says “Unlocked in this browser” once it's worked.
If the link opens inside Second Life
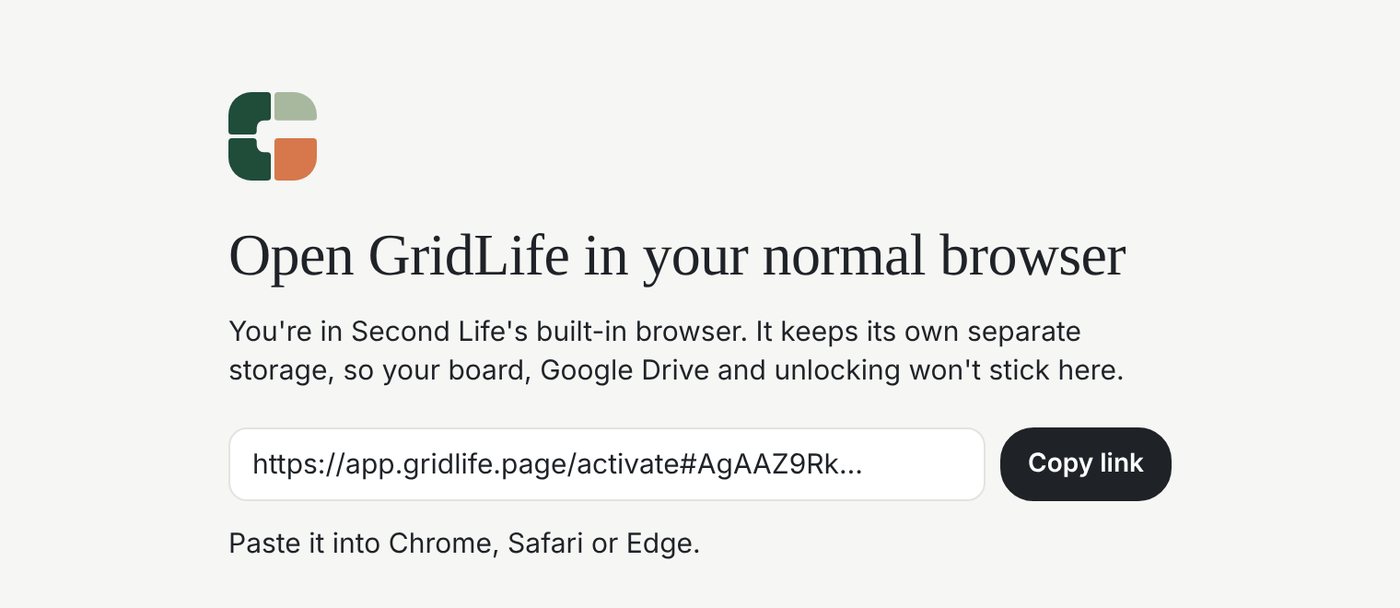
Some viewers open links in their own built-in browser instead of your normal one. GridLife spots this and gives you the link to copy.
- Touch your HUD and click Go to page.
- If GridLife opens inside the viewer, it shows “Open this in your web browser” with a Copy link button. Click it.
- Paste the link into Chrome, Safari or Edge within 10 minutes. Your board opens there, unlocked.
To skip this every time, set your viewer to open links in your normal browser:
- Firestorm: Preferences → Network & Files → Web → Use the default system browser for all links.
- Second Life viewer: Preferences → Advanced → Use the default system browser for all links.
Use GridLife on your phone
Keep GridLife on your phone's Home Screen, with the same board as your computer.
- On your computer, unlock GridLife and connect Google Drive (see Keep your board in Google Drive).
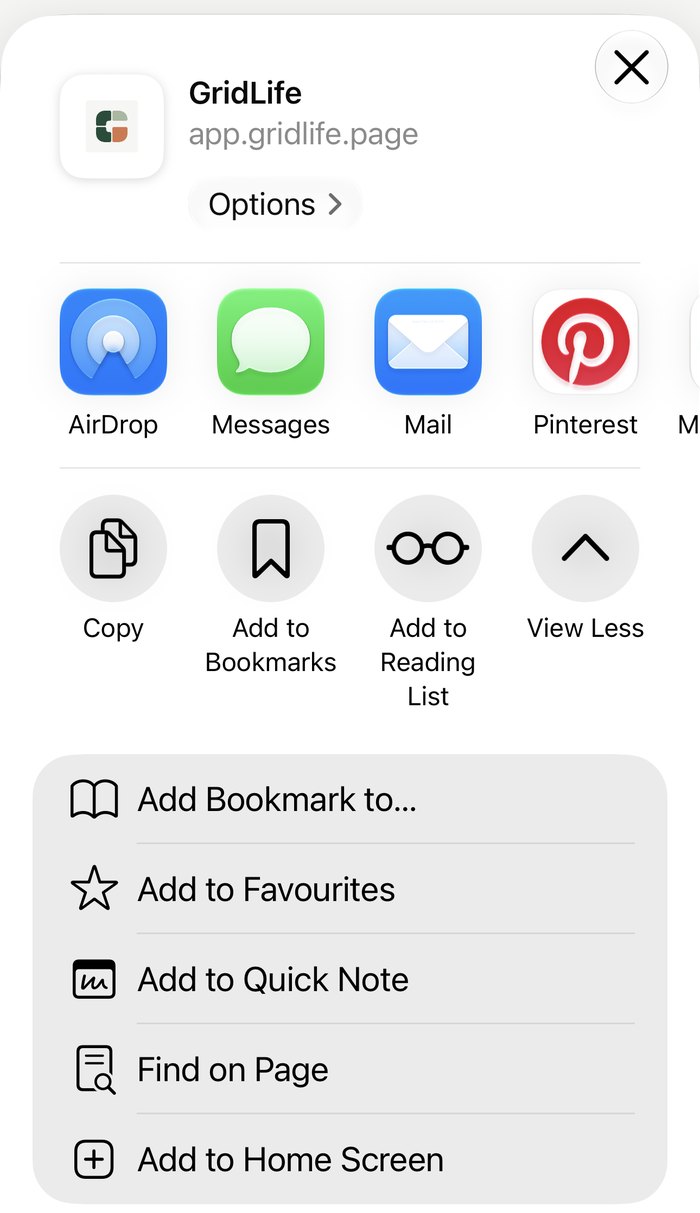
- iPhone: open app.gridlife.page in Safari, tap Share, then Add to Home Screen, then Add.
Android: open app.gridlife.page in Chrome, tap the ⋮ menu, then Add to Home screen (or Install app). - Open GridLife from its new icon. It shows the Unlock screen: tap Connect Google Drive and sign in with the same Google account.
- Your board arrives, unlocked, in a minute or so.
Good to know:
- On an iPhone, the Home Screen app keeps its own copy, separate from Safari's, so connect Drive in the app itself.
Keep your board in Google Drive
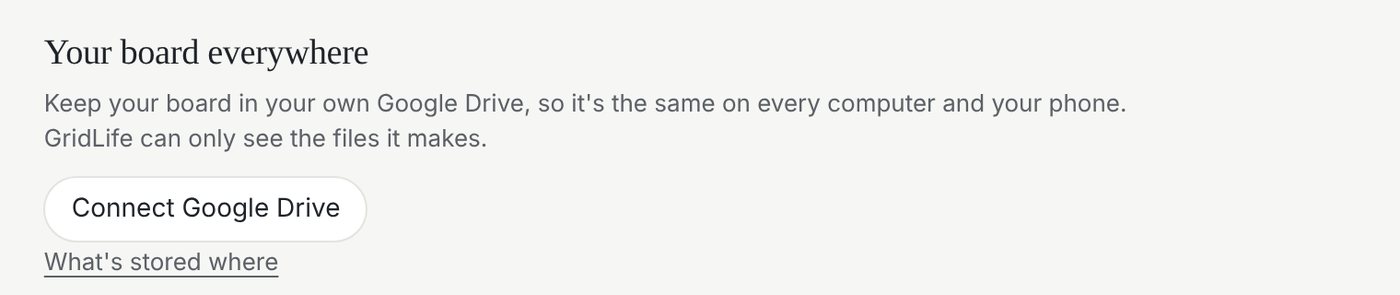
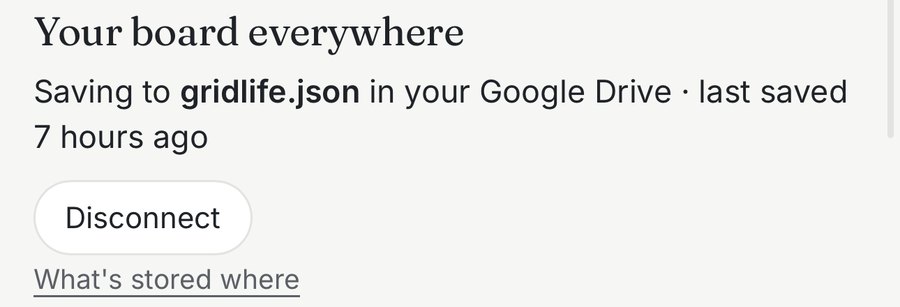
Your board saves to a file called gridlife.json in your own Google Drive, so it's the same on every computer and phone you connect.
- Open Settings (bottom of the menu).
- Click Connect Google Drive and sign in with your Google account.
- Google asks to let GridLife see only the files it makes. Allow it. GridLife can't see anything else in your Drive.
- Settings shows it's connected and saving.
Good to know:
- Changes reach your other devices within a few minutes, or as soon as you switch back to that tab.
- Drive is paused means Google can't be reached, or wants you to sign in again. Your changes keep saving in this browser; click Reconnect.
Move to a new computer or browser
Open your board somewhere new.
- Touch your HUD and open the link in the new browser. It's unlocked, but its board is empty.
- Go to Settings → Connect Google Drive, with the same Google account.
- Your whole board arrives.
Good to know:
- No Drive? Use Export board on the old browser and Import board on the new one (see Back up your board).
Back up your board (export and import)
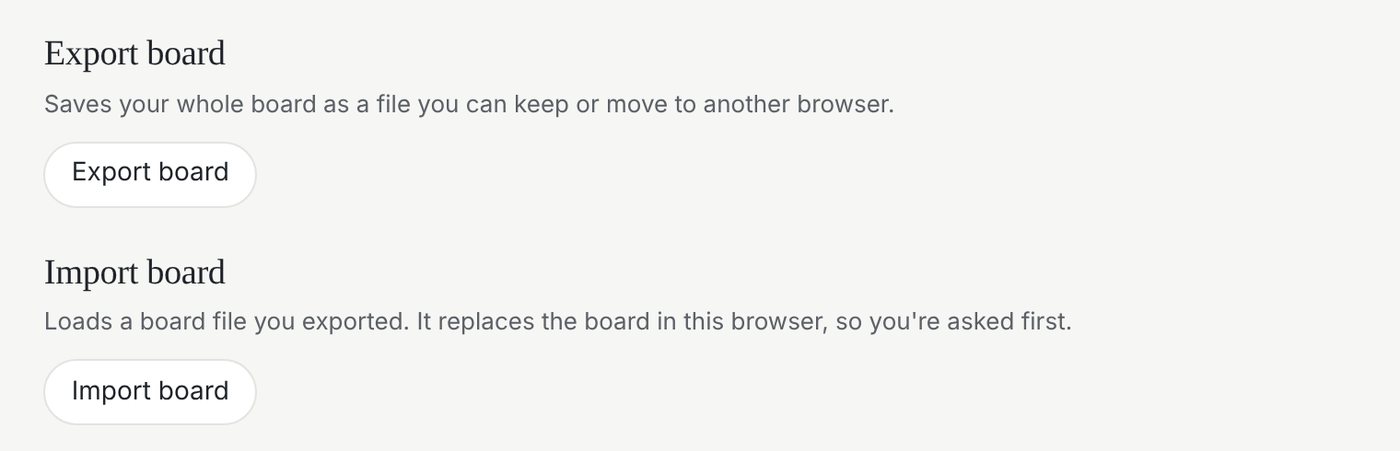
Save your whole board as a file, and load it back.
- To back up: Settings → Export board. A file downloads, to keep wherever you like.
- To load it: Settings → Import board, then choose the file.
- GridLife asks “Replace your current board with this file?”. Click OK to load it.
Good to know:
- Import replaces the board in this browser. If Drive is connected, it replaces the copy in your Drive too, so your other devices get it as well. Export first if you're not sure.
Keeping things
Keep something (★)
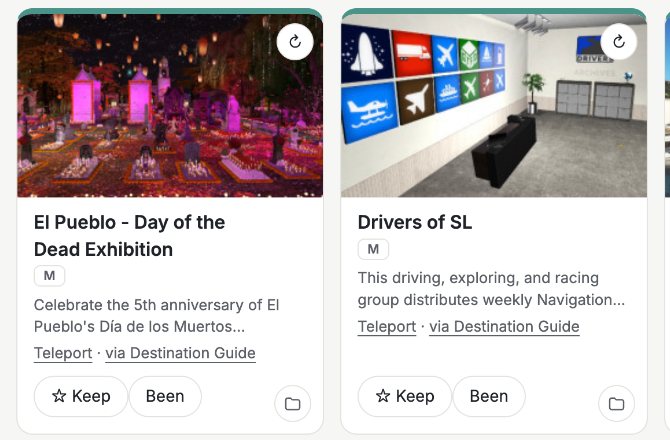
★ Keep puts an event, place or link on your board so it's there when you come back.
- Find it: an event on Soon, a place on Anytime, or a link on Links.
- Tap ☆ Keep. It turns to ★ Kept.
- Kept places and links appear in Want to go; kept events appear on the Board's Coming up, by date.
Good to know:
- To un-keep, tap ★ Kept again.
Add a link
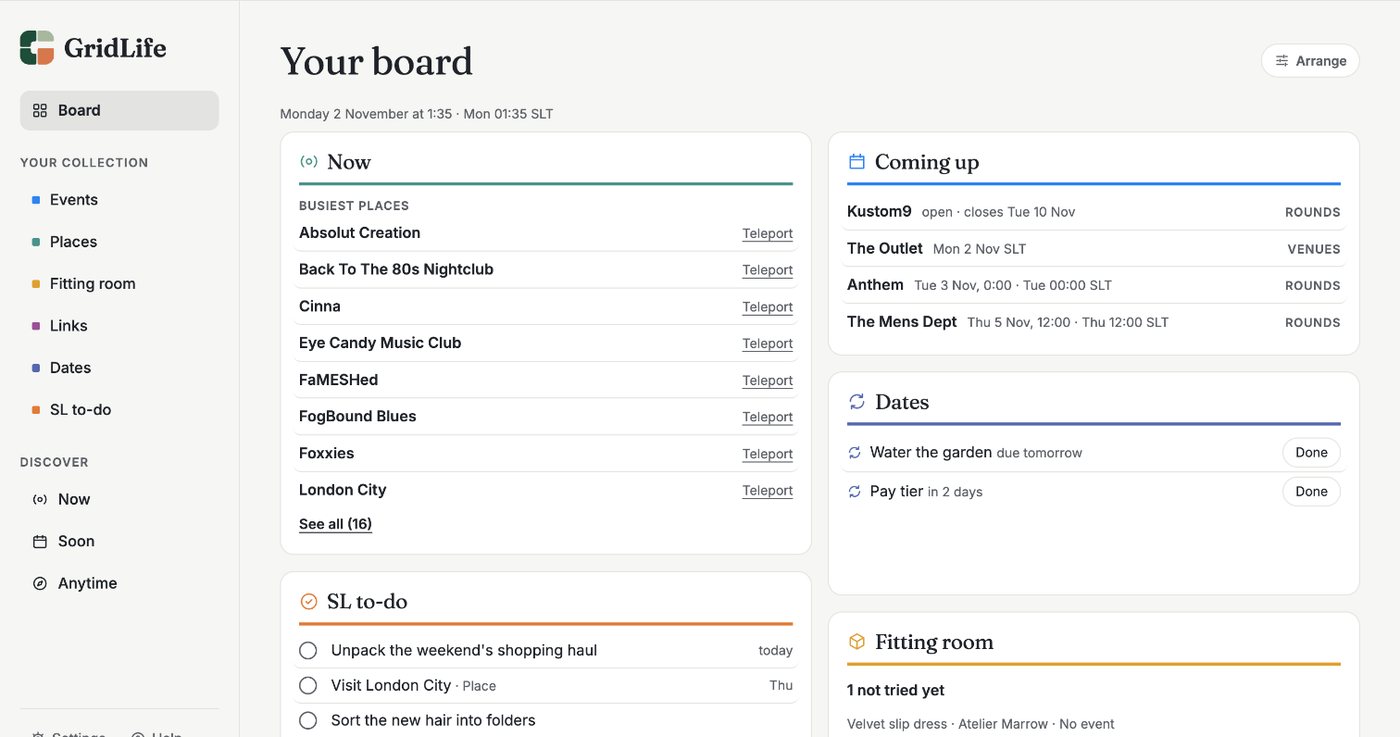
Links holds anything with a web address: a Flickr photo, a Primfeed look, a Marketplace item, a blog post.
- Go to Links in the menu (or + Link on the Board's Links panel).
- Paste the link into the box and click Add link (or press Enter).
- It becomes a tile, and its picture and title fill in a moment later.
- Tap the tile to open it where it came from.
Good to know:
- A Destination Guide link becomes a place instead, kept on Anytime.
- The same link twice shows “Already in your links” and points to the one you have.
- Along the top, All · ★ Kept · To buy filter your links.
Remove something
Take something off your board.
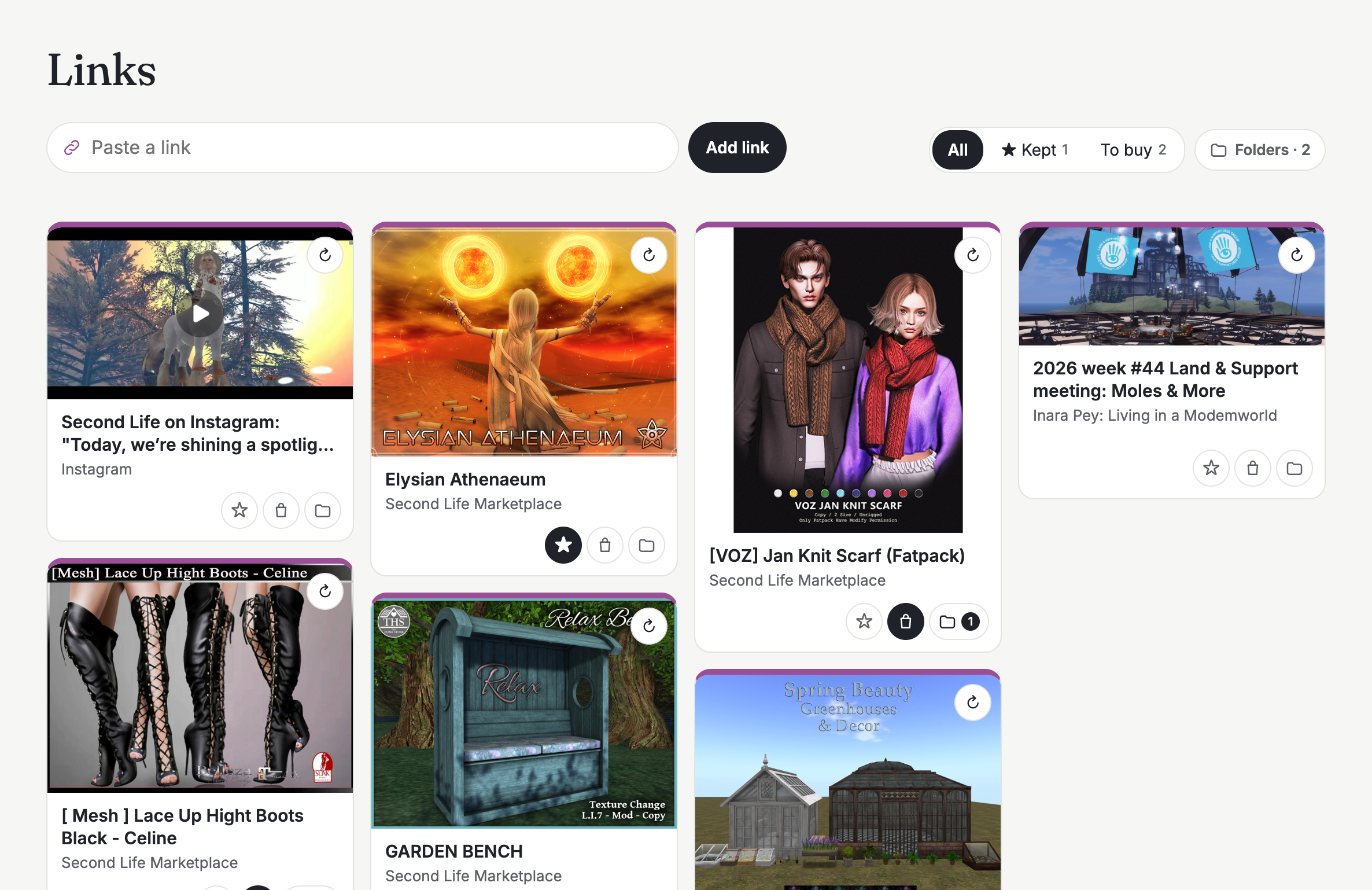
- A link: tap ↻ on its tile to turn it over, then Remove. Undo brings it back while you're on the page.
- A kept place or event: tap ★ Kept to un-keep it.
- A demo: Remove on its card.
- A to-do: ✕, with Undo.
- A date: tap it, then Remove, with Undo.
Add a note
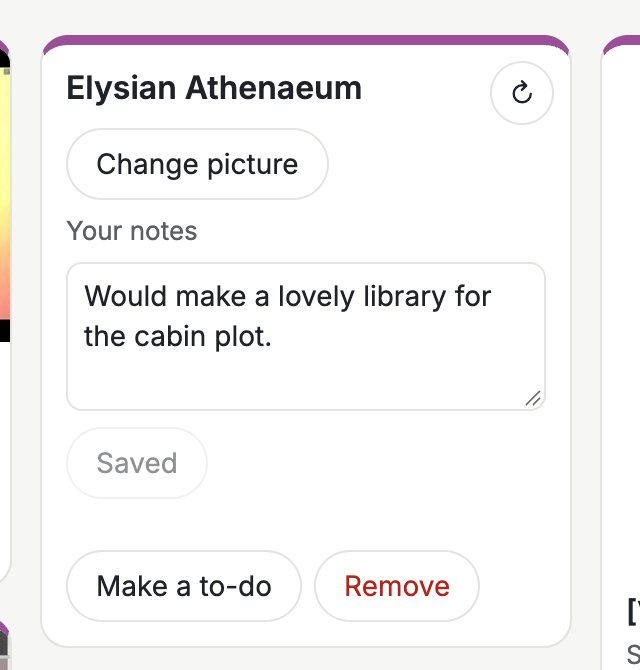
Your own words on a card: why you saved it, when to go, what to bring.
- A link: tap ↻ to turn it over, then type in “Why you saved it…”.
- A place: tap More and notes, type in Your notes, then Save note.
- An event: tap Notes ✎, type, then Save.
Give a link a picture
If a link's preview has no picture, or you'd like a different one, paste an image address.
- Tap ↻ on the tile.
- Paste a picture's address into Paste a picture's address, then Use picture.
- To change it: Change picture. To clear it: Remove picture.
Demos and the Fitting room
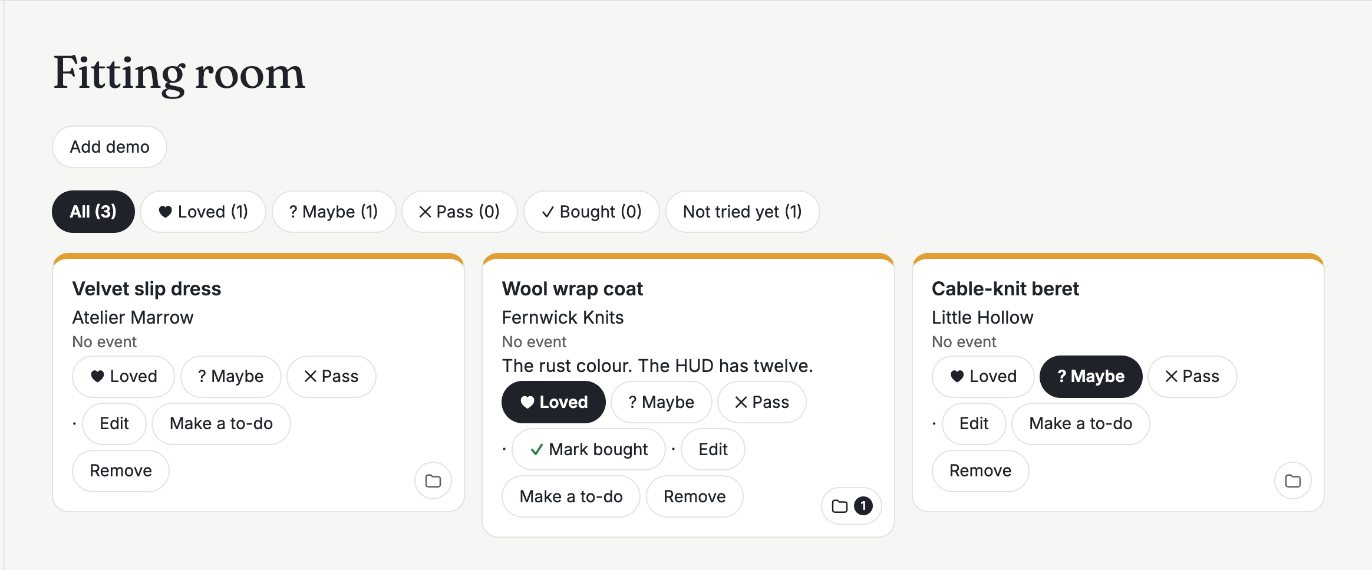
The Fitting room is where demos from shopping events wait to be tried on, so they don't get forgotten in your inventory.
- Add a demo: on Fitting room, click Add demo, or click Add demo under an event on Soon.
- Give it a name, the store, its SURL link and a photo link. Then Save.
- Once you've tried it, mark it ♥ Loved, Maybe or Pass.
- Loved demos go on To buy until you tick them bought.
Organising your board
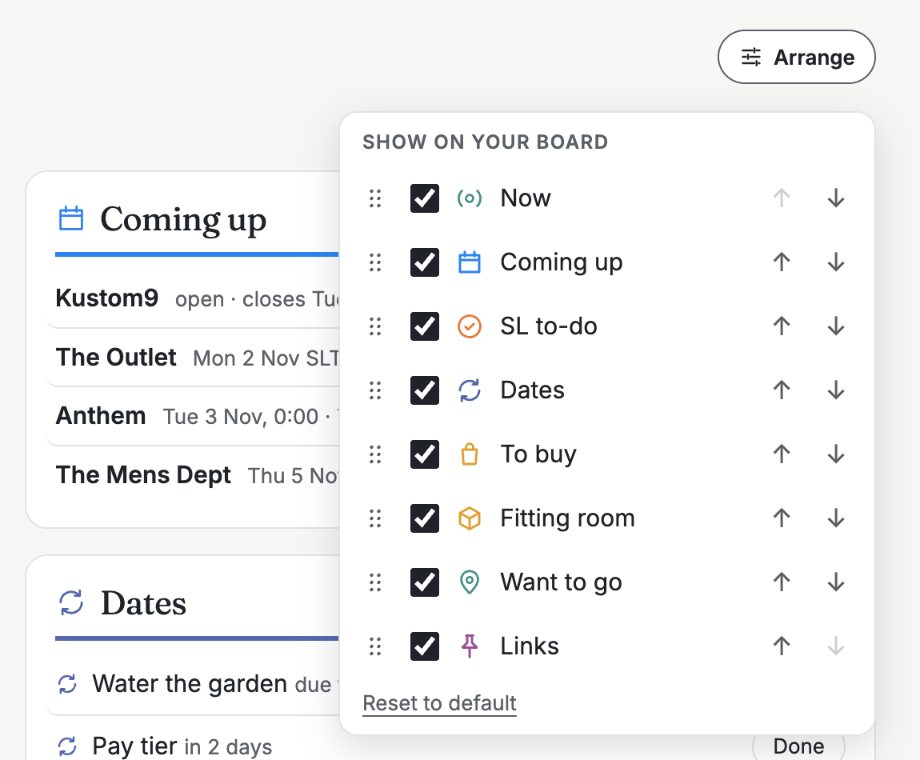
Arrange your Board
Choose which panels show, and in what order.
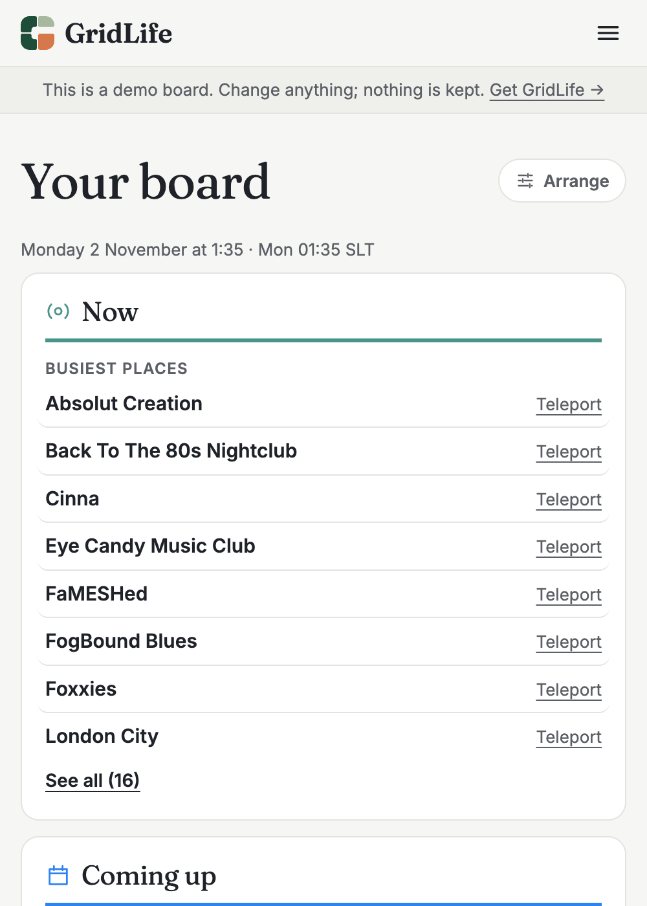
- On the Board, click Arrange (top right).
- Untick any panel you don't use.
- Move panels by dragging the ⋮⋮ handle, or with ↑ ↓.
- Changes show straight away. Reset to default puts it all back.
Good to know:
- Your arrangement syncs to your other devices through Drive.
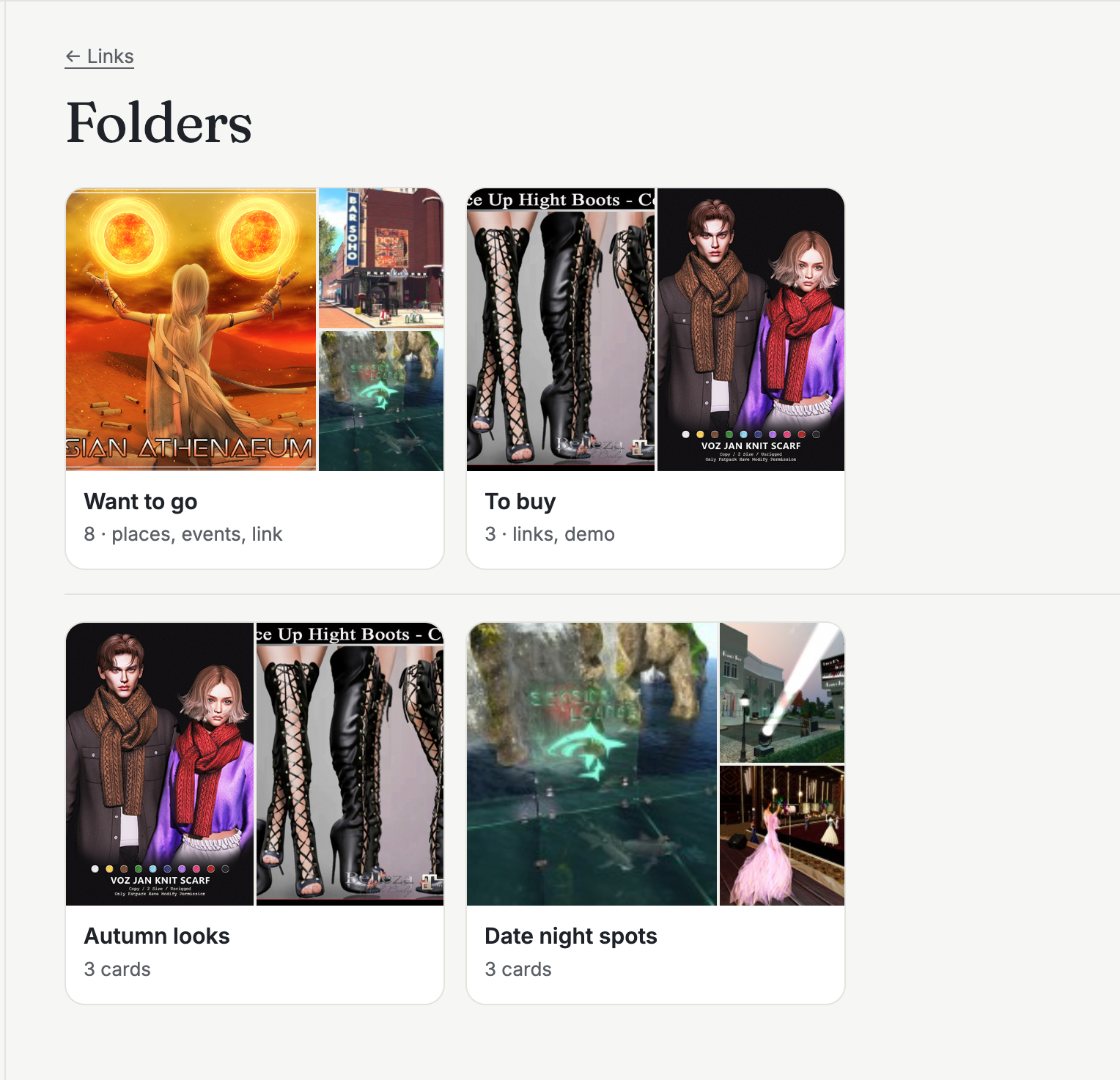
Folders
Your own folders of anything, like “Cottage ideas” or “Autumn looks”.
- On any card, tap the small folder button (bottom right).
- Tick a folder, or + New folder… to start one.
- Open your folders from the Folders link beside the paste box on Links.
- In a folder: Rename folder; Remove from folder (takes the card out of that folder only); Delete folder (deletes the folder, never the cards).
Good to know:
- A card can be in as many folders as you like.
- Putting a place in a folder doesn't ★ Keep it.
- Want to go and To buy are two built-in folders that fill themselves.
To buy
Your shopping list. It holds your ♥ Loved demos, plus any link you've put on To buy.
- On a link, tap the bag to put it on To buy. Your ♥ Loved demos are there already.
- See the list on the Board's To buy panel, or the To buy folder.
- Bought it? Tick it on the Board, or Mark bought on the back of the link. It leaves To buy and shows Bought ✓; tap that to undo.
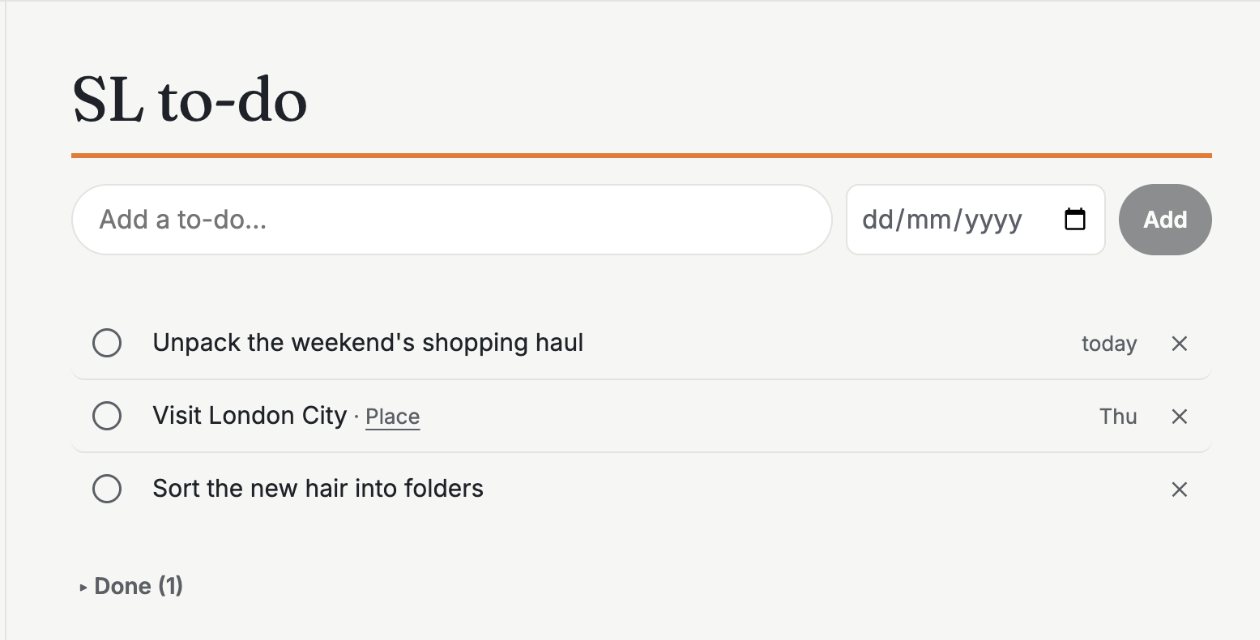
SL to-do
Things you want to remember to do in Second Life: unpack a haul, visit a sim, try a demo, talk to a creator.
- On SL to-do, type a to-do and press Enter. Add a date if you like.
- Tap the circle to tick it done. Clear done when you're ready.
- Make a to-do from a card in one tap. It's on the back (↻) of links and places, beside Notes on events, and beside Edit on demos. It adds “Visit …”, “Go to …”, “Try …” or “Look at …”, linked back to the card.
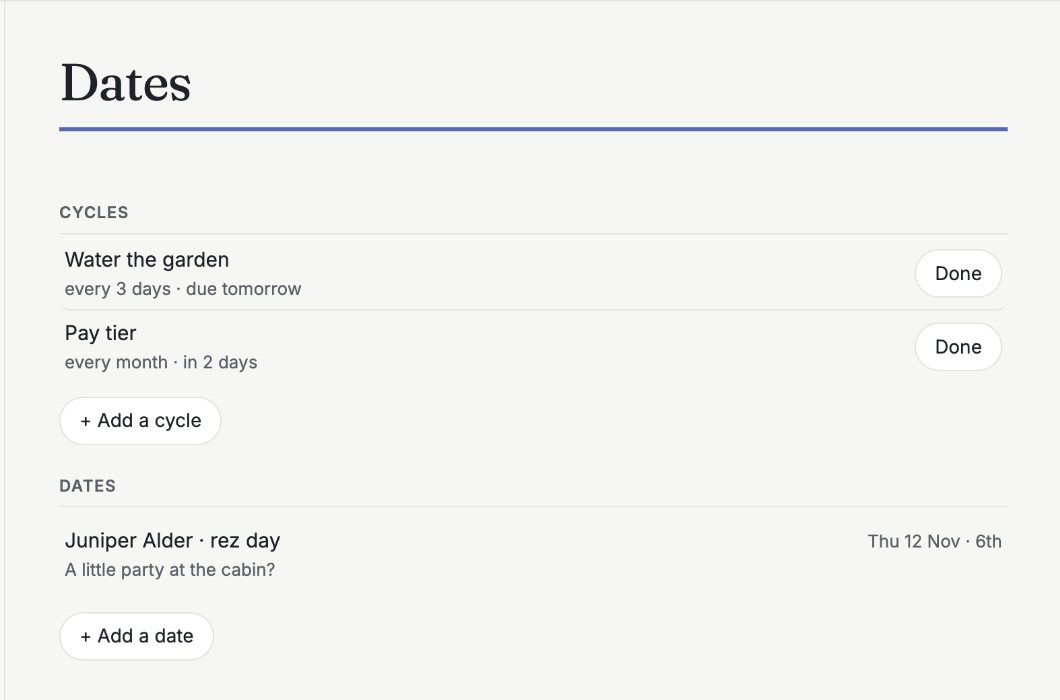
Dates and things that repeat
Chores that come round again, like feeding the breedables or paying tier, and days that come round each year, like rez days.
- On Dates, click + Add a cycle (a repeating chore) or + Add a date (once a year).
- For a cycle, set how often: days, weeks or months. For a date, add the year if you know it, and it counts: “5th rez day”.
- When you've done a chore, tap Done. The next one is counted from the day you did it.
Good to know:
- The Board's Dates panel shows chores due in the next 3 days and dates in the next 7.
Finding what's on
Now
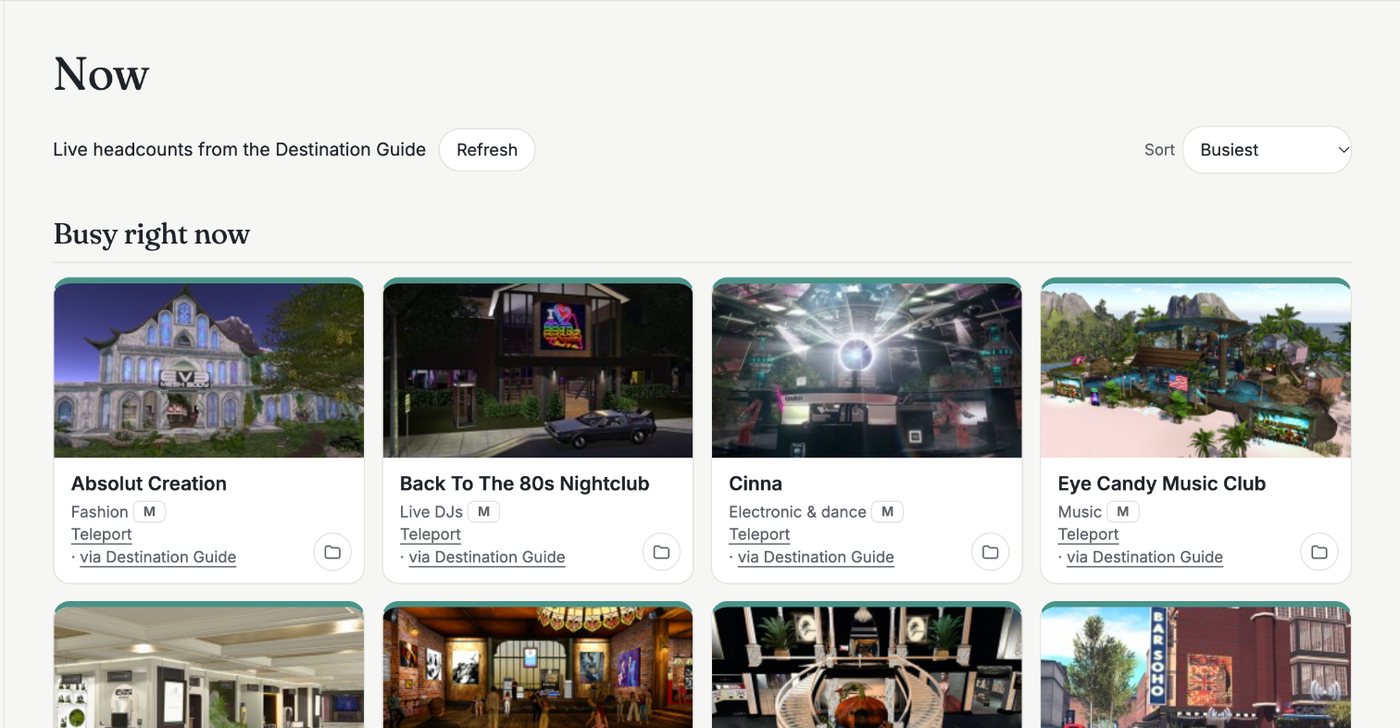
What's open and busy in SL right now: shopping events open now, the busiest places, and SL featured events that are on now.
- Open Now in the menu.
- Click Teleport on anything to go.
- Refresh updates the headcounts.
Soon
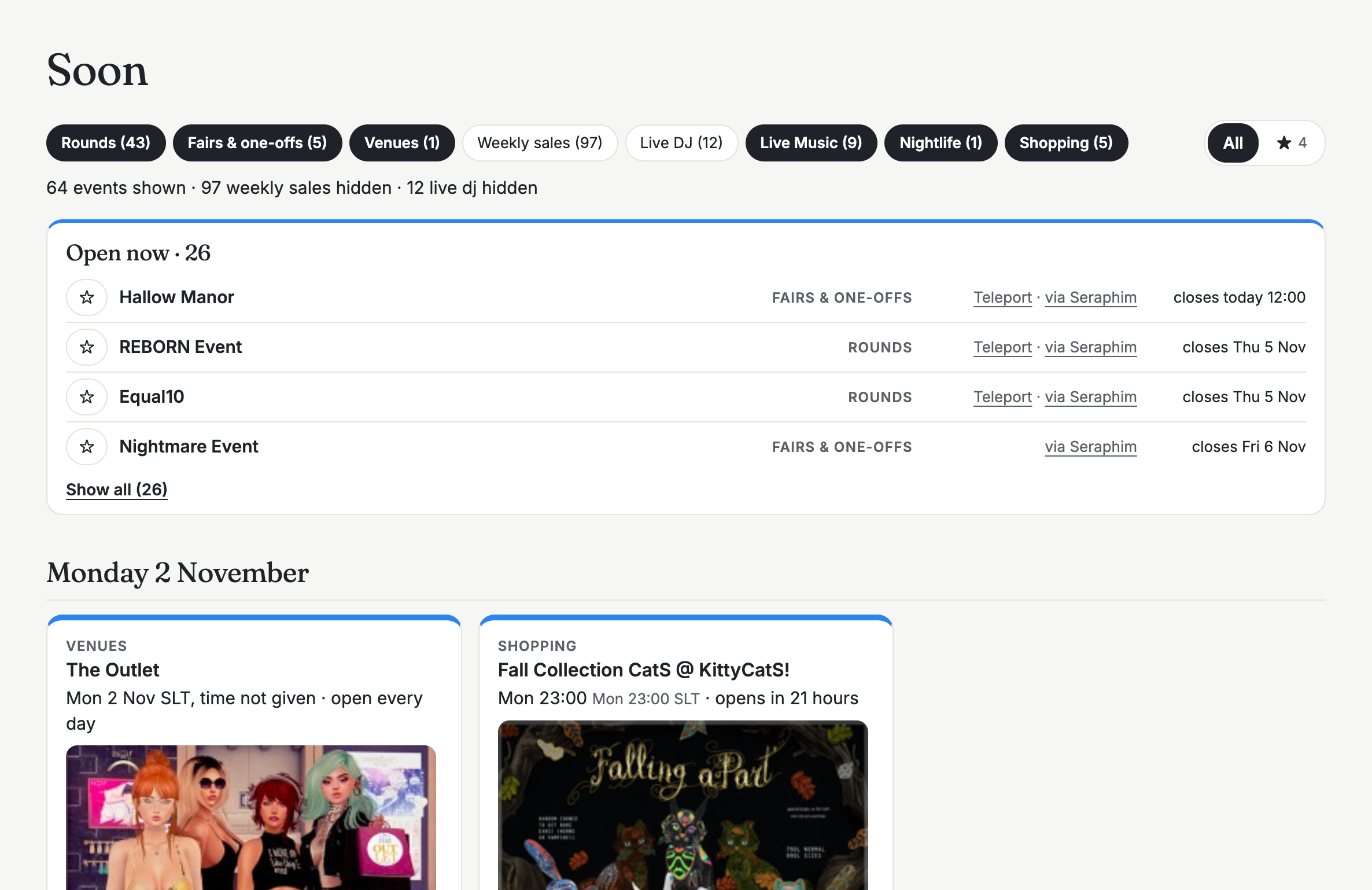
Events for the next two weeks, from Seraphim, plus Linden Lab's SL featured events.
- Open Soon.
- Use the kind pills (Live DJ, Live Music, Arts…) to show or hide kinds.
- ☆ Keep the ones you want to go to.
- Switch to ★ to see only your kept events.
Anytime
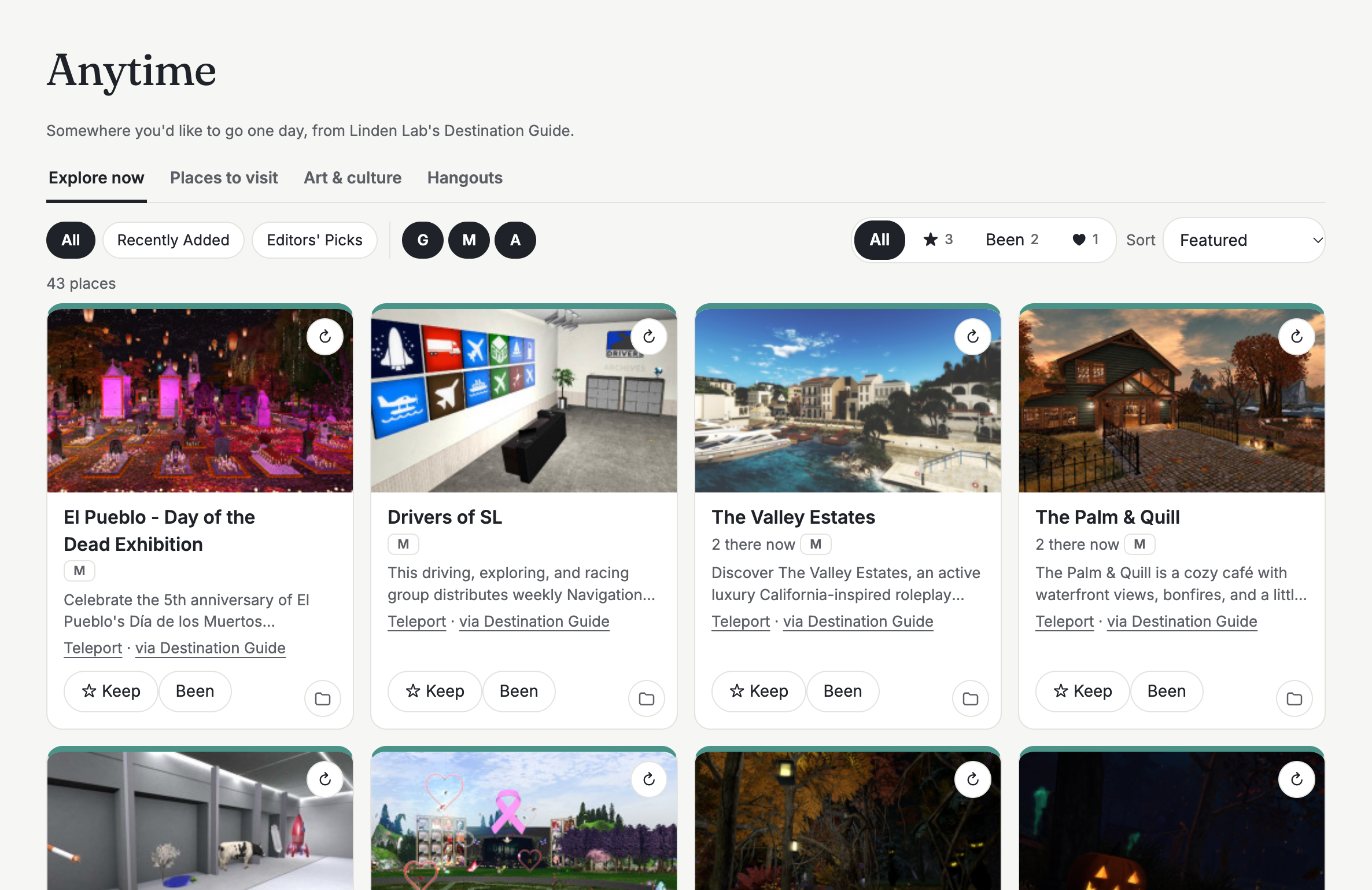
Places from Linden Lab's Destination Guide, to browse and keep for any day.
- Open Anytime and browse.
- Narrow it down with the category chips, with G · M · A for ratings, or with All · ★ · Been · ♥ for your own.
- ☆ Keep a place for later; tick Been once you've gone; ♡ the ones you'd go back to.
Your time and SLT
Times show in your own time zone first, with SLT beside them.
- Settings → Your time → Change.
- Search for your city, or pick from Suggested.
Good to know:
- If your computer moves time zones, the Board offers “Switch?”.
Hide Adult places
Hides Adult-rated places and events everywhere, your own kept ones included.
- Settings → Hide Adult places.
Good to know:
- Nothing is deleted: switch it off and they're back.
Leaving
Disconnect Drive and clear your board
Stop syncing and remove everything GridLife saved. There's no account to delete; this is everything.
- Want to keep your board? Settings → Export board first.
- Settings → Disconnect. GridLife stops saving to your Drive and cancels its access.
- In Google Drive, delete
gridlife.json. - In your browser's settings, clear the data for app.gridlife.page. This removes the board, and this browser's unlock.
Pictures are from the GridLife demo board. Try it yourself at demo.gridlife.page.